How to adjust your Mac and your workspace for better quality videoconferences
[ad_1]
I work from a downstairs home office, so the “work from home” shift required by the coronavirus pandemic from March 2020 onward had little affect on my day-to-day circumstances. But when the rush to videoconferencing began, I was swept up in it as colleagues, co-workers, friends, and editors deployed Zoom, Google Meet, Microsoft Teams, Cisco WebEx, and other tools with great abandon.
I wasn’t initially up for the challenge of being on video. My office is ground level on the side I work in and daylit by indirect light, but behind me the area is below ground. Also behind me: our basement storage. Part of my 2020 was spent organizing and reorganizing both my space and the area around which I work.
I also upgraded the way I could present myself over video. While I haven’t tried to improve my face (with either makeup or medical means), I have worked on camera settings, using alternative video inputs, lighting, wall painting, and switching from an informal green screen backdrop to a professional retractable model.
The following tips detail how to improve your setup if you’re facing months more working or attending classes at home, have hybrid work planned, or have transitioned to a mostly or full-time work-from-home employment or freelance situation.
In each case, I provide options for using free and inexpensive software and hardware or other items you already own, along with more expensive alternatives aimed at video broadcasters working from home, but which might fit the bill for you.
I know Zoom best, having written two editions of an ebook, Take Control of Zoom that covers every nook and cranny. But having worked with my kids to help them use Teams, and conduct meetings with FaceTime, Meet, Skype, and WebEx over the last year, it’s fair to say Zoom cares the most about how you look and what your background looks like.
Zoom offers three tools to make you appear the way you like and improve weak lighting situations. Bring up Zoom > Preferences, which shows Zoom’s Settings window, and click the Video icon. You have three improvement options:
- Under My Video, check “Touch up my appearance” and Zoom applies smoothing to your facial features. It offers a slider, which ranges from “barely anything” to “anime-like.”
- Also under My Video, check “Adjust for low light” if you’re not light well. That can be set to Automatic, or select Manual and use the slider.
- In Advanced, check “Optimize video quality with de-noise” to remove some of the random pixels of color that appear in low-light conditions and with webcams with weak optical systems, which include many of those Apple included in Macs until recently.

Nearly all desktop apps for videoconferencing services do include some kind of background blur, and many offer a virtual background that replaces your actual one. The best of these will identify a solid-color backdrop or let you select its color. With no backdrop, the software algorithmically techniques your head and body and cuts the background out around you dynamically, either to blur or replace it.

Adjust camera settings
One way to improve your video output is to tweak brightness, contrast, saturation, white balance, and other settings—a little like an old-fashioned video recorder, if I’m honest.
Apple doesn’t offer input adjustments for its built-in cameras, though some paid third-party software works with some models. (See “How to adjust webcam settings on your Mac.”)
Logitech, a major maker of add-on webcams, has three separate you can choose among, depending on your model. All are free:
- Camera Settings, a generic settings adjuster that works with most Logitech models
- Logitech G Hub, intended for gaming gear, but which can tweak cameras, too
- Logitech Capture, a video-capture utility that has its own adjustments and workflow

I have the older Logitech C920 1080p camera and an M1 Mac mini, and the software doesn’t all interact beautifully. Camera Settings, for instance, doesn’t retain settings across restarting the Mac and lacks any way to save presets. However, it does distinctly improve the video output of the camera as fed into videoconferencing software. (Logitech G Hub doesn’t support HD on this model; Capture isn’t yet updated for M1 Macs.)
If you have another brand of webcam, check its maker’s site for what software may be available.
Tap into your phone, tablet, or standalone camera
Another approach is to install software or use hardware that lets you turn your iPhone or iPad camera or a standalone camera, like a DSLR, into a virtual camera. This is a synthetic video feed that looks to many apps on your Mac like it’s a hardware-based camera plugged in via USB.
Unfortunately, because of Apple’s proprietary technology, you typically can’t use virtual cameras with FaceTime, Photo Booth, or as a video source within Safari. But most work with all the major videoconferencing software and as inputs to other software.
For an iPhone or iPad, two apps stand out:
- Reincubate Camo pairs an iOS app with Camo Studio for Mac and Windows. The free version allows up to 720p streaming video with some controls. Unlock the Pro version ($4.99 per month, $39.99 per year, or $79.99 for a lifetime license), and gain access to an array of adjustments and 1080p video. Connections have to be over USB, and 4K video isn’t yet supported.
- Elgato EpocCam (free/$7.99) pairs an iOS/iPadOS app with macOS and Windows drivers. The free version offers 480p video; the paid one, up to 1080p, among other differences. There’s no desktop app for image adjustment, but it still can provide an upgrade over built-in video or in lieu of buying a webcam. It allows for Wi-Fi, USB, and wired connections (via an adapter).

Reincubate
If you own a DSLR, mirrorless, or video camera with HDMI output, and you have a mode in which you can dismiss all the camera’s interface elements on its image-preview screen, you can use a hardware virtual-camera adapter.
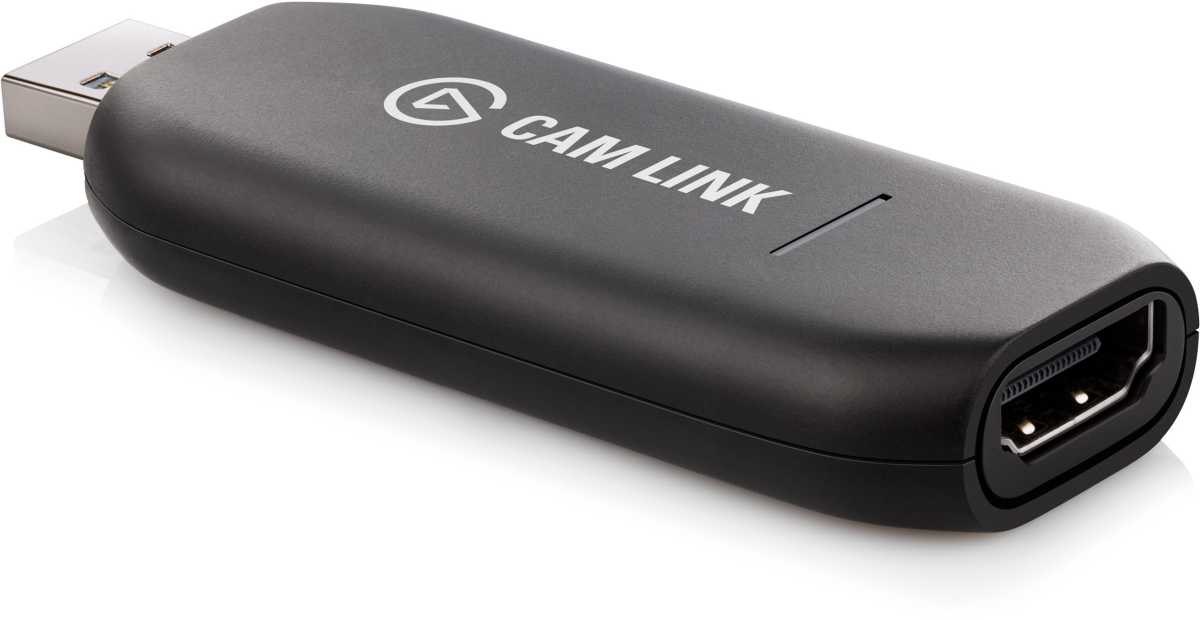
Early in the pandemic, people snapped up the Elgato Cam Link to connect output from cameras they already owned. Supplies ran out quickly of the 1080p model then available. Elgato now offers a higher-resolution version, the Cam Link 4K ($129.99 on Amazon), at a lower price than the discontinued 1080p model.

Still, the Cam Link 4K may seem too expensive if you’re not broadcasting video. Instead, you can turn to an under-$25 1080p adapter for any camera with an HDMI output port. Some electronics firm designed a version sold under many different names online, such as this one. Many cameras include Micro-HDMI, which simply requires a Micro-HDMI to HDMI cable to use with either Elgato or the cheaper adapter.
Many camera makers also released software and drivers across 2020 and early 2021 that directly connects many of their more recent cameras models without additional hardware to act as a virtual camera. All support USB connections, while some allow Wi-Fi. Check your camera maker’s website.
Placement can be an issue when you use an iPhone, iPad, or standalone camera as your webcam. You need to find a secure way to place the device—forward facing or rear facing, depending on the camera or cameras you want to use—so you can look indirectly at the lens as with a webcam. Otherwise, you’ll always seem to be looking away.
You can find tiny tripods and stands as well as mounted for the top of iMacs and monitors. It may be easier with a laptop, which could be placed on a stand that’s in front of a small tripod holding the input device for your virtual camera.
I wound up getting an inexpensive adjustable gooseneck stand that has a pressure screw to attach it to a base on which my monitor sits and can be adjusted out of the way when not in use.
Improve your lighting and light balance
It’s hard to produce high-quality video when the lighting around you is out of control. However, you don’t need to aim for broadcast quality. Often, installing or pulling down a window shade, turning on or off certain lights, or adding a soft or diffuse light or key light can make a huge difference.

Here are a few tips:
- If you have lighting behind you and are dimly lit or not lit in the foreground, you’ll appear quite dark in comparison, or your lighting level will constantly shift as you move. Try to reduce backlighting.
- With one or more large monitors, you may want to have a black backdrop or neutral backdrop on-screen while streaming video to avoid a bright reflection on your face.
- Pick the color of your top—and a head covering, if you use one—to match skin tone and lighting. In the figure, you can see how my black T-shirt causes a far worse overall effect than when I’m in a purple-and-white checked shirt.
- Lighting yourself diffusively and a little indirectly can provide the best results. That can be accomplished with soft-light LEDs and even hanging some translucent fabric in front of a light at very little cost.
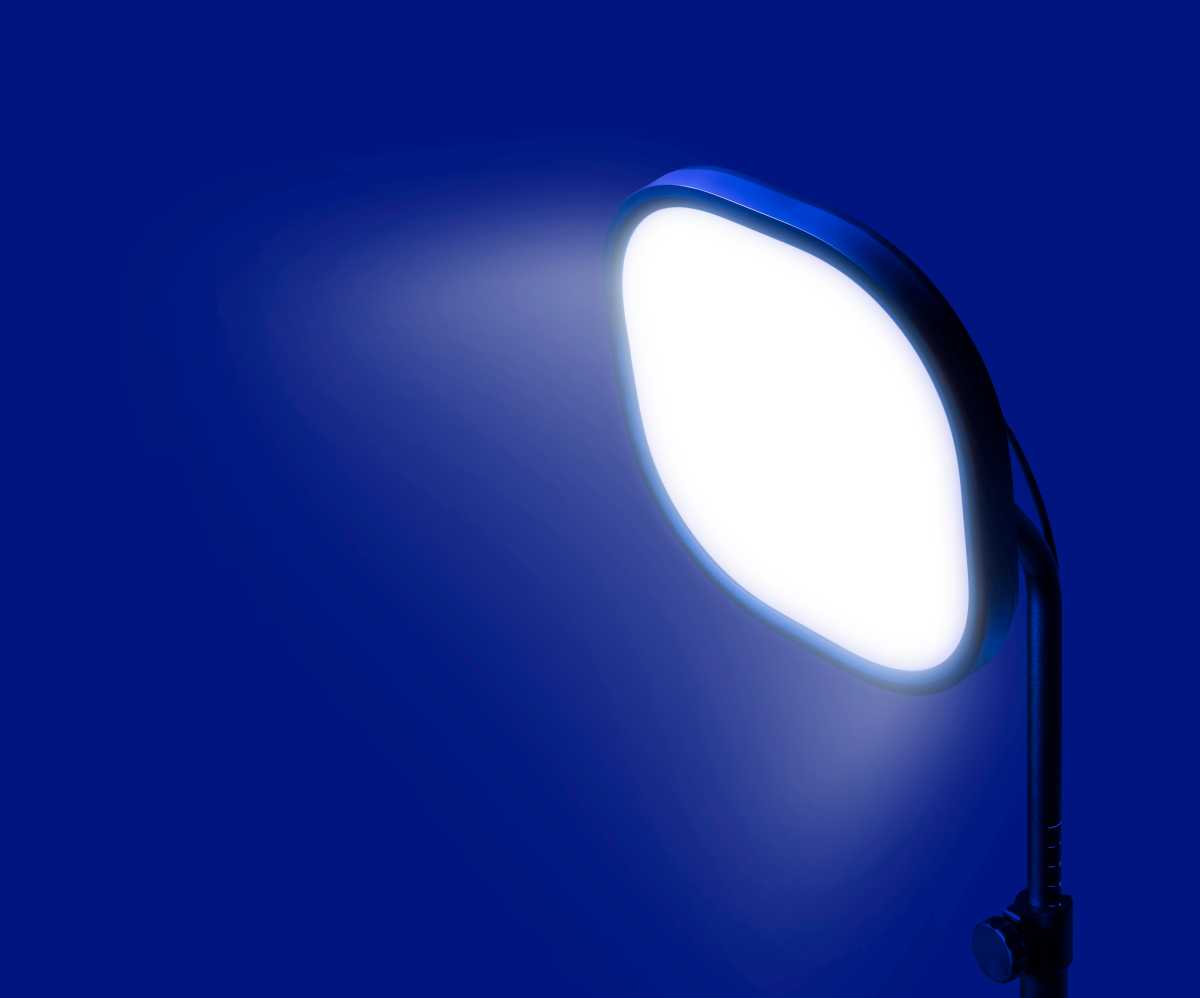
After months of struggling with even lighting in my space, I finally purchased the smaller of two key lights from Elgato, the Key Light Air ($109.99 on Amazon). Both this model and the much larger Key Light ($199.99 on Amazon) have desktop and mobile apps that allow setting brightness and color temperature.
Get a green screen

If you work in a chaotic-looking area, like yours truly, a green screen can be a big help in presenting yourself professionally. It also assists when you record live videos, present live, or pre-record presentations.
As I’ve improved my space, including repainting it—it looks far better in the directions I look at while working, but not as much as behind me, where I don’t look at all. The space I don’t see is, of course, what everyone else does.
In some cases, I use lighting, camera adjustments, and blur to remove it. In others, I pull down a green-screen backdrop. A backdrop lets virtual camera and most videoconferencing software efficiently isolate you from the background. You can use this to drop in a picture of an office, an image from your vacation, or something purely decorative. But you can also combine it with features like Slides as Virtual Background in Zoom or the Mmmhmm presentation software to create a studio feel while showing images, video, or slides.

Glenn Fleishman
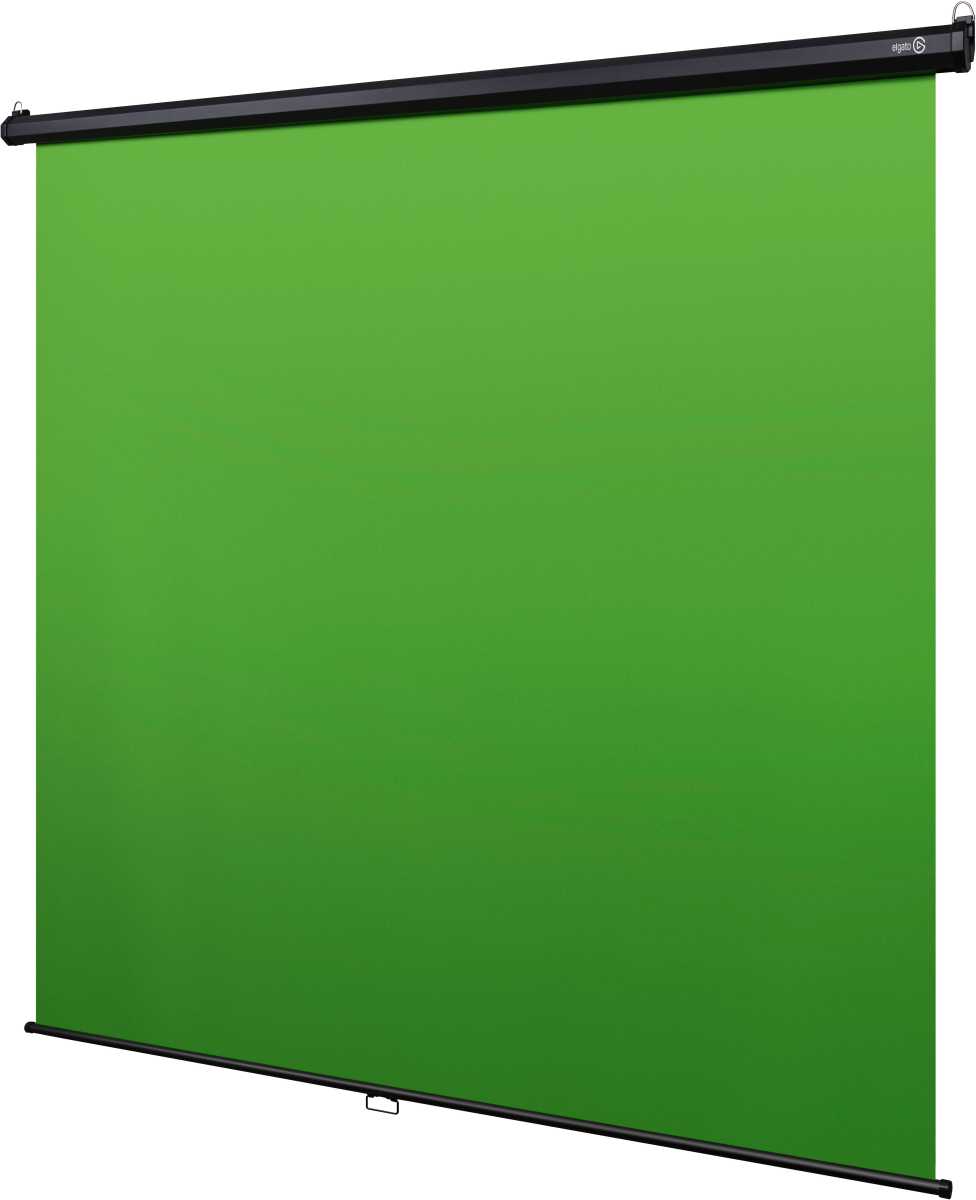
I currently rely on an Elgato Green Screen MT ($159.99). It’s a ceiling and wall mountable retractable green screen that I can deploy and stow just like one of those old-fashioned schoolroom pull-down maps. Before the green screen, I made do with a large piece of neutral green polar fleece. It’s a low-tech and low-cost way to get a relatively even tone, though you have to figure out to mount it and keep it clean. Polar fleece costs a few dollars per yard or meter for a 5-foot (1.5 meter) wide swath.
[ad_2]
Source link


