How to check your Apple purchase history for unwanted charges
[ad_1]
Because Apple is a one-stop shop for so many different kinds of digital and hardware purchases, it can be easy to lose track of whether all the charges that appear on your credit card bill are legitimate—particularly when they’re small, recurring ones.
It’s always a good idea to review charges on a card within a few days to weeks of monthly billing to ensure you have enough time to dispute fraudulent ones or amounts charged in error. Apple has a few places to help you figure out what amounts of $0.99, $4.99, and $34.63 might be.
- In the Music app in macOS Catalina or later: Choose Account > View My Account and then click See All to the right of the Purchase History heading. The last 90 days of transactions appear by default; use a popup menu at the top below Purchase History to set a different range.
- In Settings in iOS/iPadOS: Go to Settings > Account Name > Media & Purchases and tap View Account and then tap Purchase History. Tap the label under Date Range to change which purchases appear.
- Use an Apple Web site: Go to reportaproblem.apple.com, log in or use Touch ID to authenticate yourself. The site lists only the last 90 days of your transactions. This is also the only place you can view the transactions of other people in your Family Sharing group.

Transactions are listed with varying degrees of detail depending on which of the above options you pick. You can click or tap in all of those places to get more detail if it’s not displayed, however, including the credit card or Apple payment source.
If you want to know the device from which you made a purchase, you can only find that in macOS or via the Web site:
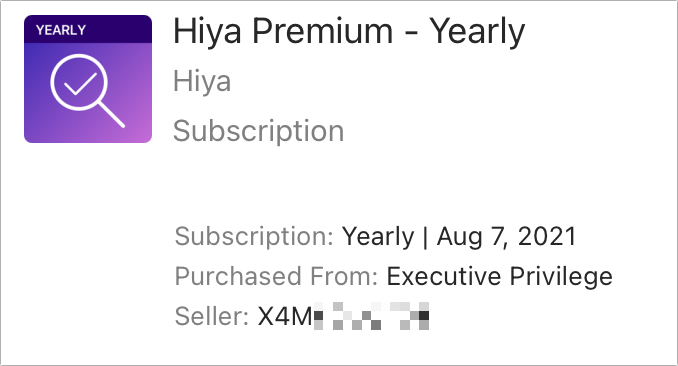
- In macOS, click the More button in a transactions to see Purchased From.
- At the website, click the transaction ID to cause more details to drop down, then click View Receipt to find the device, listed in the main transaction.
You can then compare these details against charges to see how they match up. In most cases, you only see Apple listed with a phone number or a series of 1s (that’s 111-111-1111—not a real phone number, a vestige of years past).

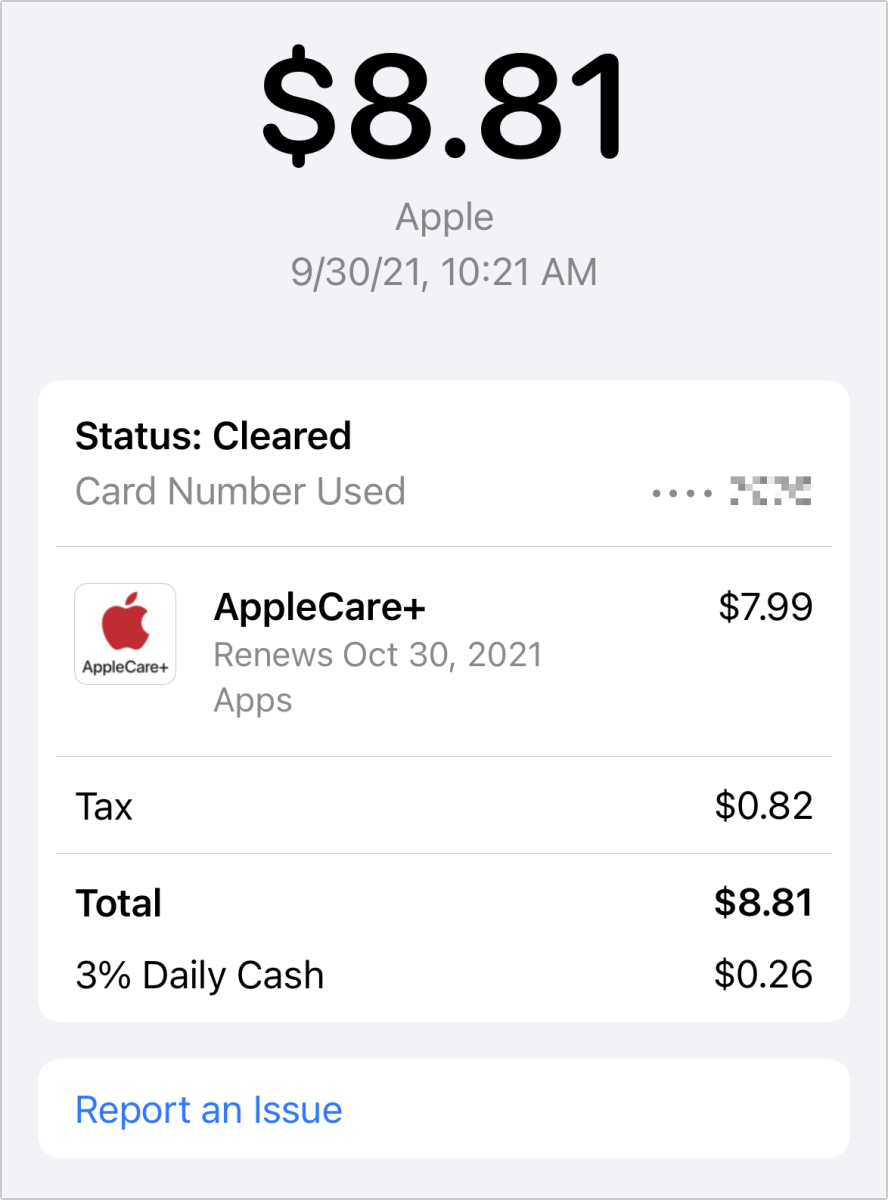
However, if you have an Apple Card, its Goldman-Sachs-managed Mastercard, you can use the Wallet app: tap the Apple Card and tap any transaction with Apple in the title. It may take a second or two, but Apple matches the charge with its own records of what you purchased so you see precisely what was charged.
If after all this you find charges you didn’t authorize, you can use Apple’s resolution process at reportaproblem.apple.com. You can also contact your credit card company using its resolution process.
My dad recently discovered unauthorized Apple charges on two credit cards he and my step-mother use. A few more recent charges were in the tens of dollars, while others for a couple of dollars each dated back to early 2020.
The more recent and larger charges were easily handled by one credit card company, but they called Apple to deal with older ones. The Apple representative could see which Apple ID was used to make purchases charged to their cards, and spent over an hour on the phone to resolve all the fraudulent charges, just as one would hope.
Ask Mac 911
We’ve compiled a list of the questions we get asked most frequently, along with answers and links to columns: read our super FAQ to see if your question is covered. If not, we’re always looking for new problems to solve! Email yours to mac911@macworld.com, including screen captures as appropriate and whether you want your full name used. Not every question will be answered, we don’t reply to email, and we cannot provide direct troubleshooting advice.
[ad_2]
Source link


