Updating macOS with an Installer and in Recovery

With macOS Sequoia fast approaching from the horizon comes the question as to how to upgrade and update, whether to Sequoia or one of its recent predecessors. If you’re happy to go with what Software Update offers, then that’s usually simplest and most efficient. This article considers what you should do if you want something different, from updating to any previous version, to using a single installer to update several different Macs.
Procedures given here should work with all versions of macOS from Monterey onwards. They may work too with Big Sur, but its installers weren’t always as reliable, so you should there be well-prepared to have to migrate from a backup in case the installation creates a fresh, empty Data volume instead of firmlinking up to your existing one.
Which installer?
As Apple discontinued standalone updater packages when it introduced Big Sur, the choice now is between downloading the full Installer app, and performing the process in Recovery mode. The latter severely limits your choice to what it’s prepared to offer, so you’re almost certainly going to need to obtain the full Installer for the version of macOS you want. Rather than use the Installer app provided in the App Store, download the Installer package from the links given by Mr. Macintosh. Those provide a package that’s easier to store and move around, unlike the Installer app itself. It will typically be a little over 13.5 GB, and works on both Intel and Apple silicon Macs.
Standard procedure
As with any update or upgrade, first ensure you have a full recent backup before starting. If anything does go wrong during the procedure you’ll then be able to perform a fresh install and migrate from that backup.
Unless you want to install everything afresh and migrate from your backup, don’t try erasing either your System or Data volume. You’d have to do that in Recovery mode anyway, limiting your options as to which version of macOS you can install unless you create a bootable installer first.
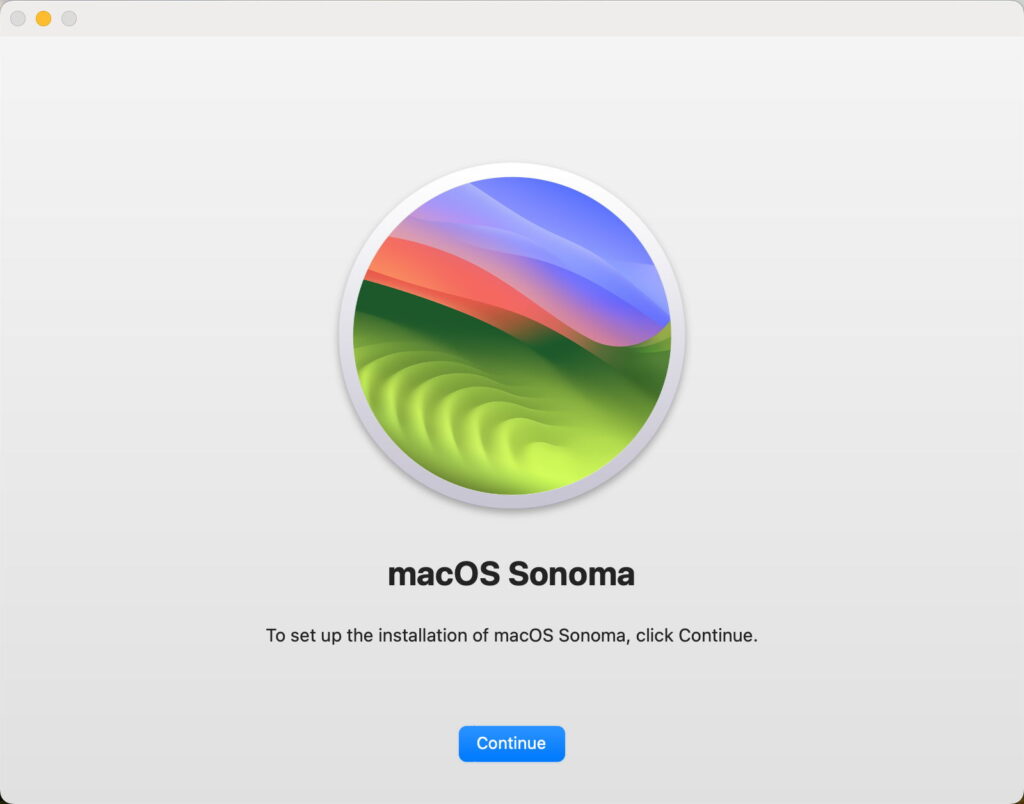
Double-click the installer package to launch it in the Installer utility. The default is to save the Installer app to your current Applications folder, which should work fine as long as you remember to delete it once you’ve finished. Once complete, launch that Installer app and follow its instructions.
When macOS restarts at the end of the process, check the version now running, confirm that your Data volume has survived intact, and run SilentKnight to ensure that all security data files are up-to-date.
Recovery
Intel Macs have a slight advantage when it comes to installing macOS in Recovery mode, as depending on the keys held during startup, you should be able to coax a choice of versions out of an Intel system. Unless you simply want to install or update to the current version, though, you’ll probably want to avoid doing so in Recovery.
There’s another good reason for not using Recovery, in that delivery of installers to Macs running in Recovery can be painfully slow, and you may well be in for a longer wait than if you downloaded the Installer direct.
However, if you want to erase the current boot volume group on your Mac’s internal storage so you can install a fresh copy of macOS and restore the contents of its Data volume from backups, Recovery is normally the best place to do that. Apple works through the process for Intel Macs, and Apple silicon models. The key step is to select the Macintosh HD boot volume group and click on the Erase tool to perform Erase Volume Group.
When the SSV was first introduced in Big Sur, there were many problems resulting from erasing just one volume in the boot volume group. If that happened to be the System volume, when macOS was installed it created a new firmlinked Data volume, leaving the existing Data volume as an orphan. That was usually done in a misguided attempt to have a fresh install of the System volume and SSV while keeping the existing contents of the Data volume, but doesn’t do that. Every installation of the SSV in any given version of macOS since Big Sur is identical, so it isn’t necessary to erase it, but simply to install or update macOS.
Bootable installer disk
Another traditional way to install macOS is using a bootable installer disk, normally a USB ‘thumb’ drive, although you can also create a small HFS+ volume for the purpose on an external SSD. Apple provides detailed instructions for doing this using a range of versions of macOS.
In many cases, installing a version of macOS older than the one that’s currently running requires this, as old Installers usually fail to run in newer macOS. Unfortunately, on Apple silicon Macs, this isn’t the powerful tool that it once was, as the Mac doesn’t boot fully from the external disk, and as a result it has no role in dealing with problems with internal storage.
Virtual Machines on Apple silicon
Installer apps and Recovery installs both work fine in virtual machines running on Apple silicon hosts. However, there’s one special circumstance you need to beware of. One of the major new features in virtualisation in Sequoia is support for iCloud and some other services dependent on Apple ID. If you want to use those, then the VM must be created new in Sequoia, using a Sequoia IPSW image. You can’t update or upgrade an existing VM from a previous version of macOS and use iCloud services in it.
Summary
If you can, use Software Update to update or upgrade macOS, as it minimises download size and is simplest.
If you want to perform a different update, or run one installer on several Macs, download and use the appropriate Installer package.
If you want to erase the existing system including all your data, use Recovery mode to erase the whole volume group, then install macOS and migrate from your backup.
Never erase only your Mac’s System volume, as that will orphan its current Data volume.
If you want to downgrade to an older version of macOS, you’ll probably need to do so from a bootable installer disk.
If you want a VM to use iCloud, then create a fresh VM using a Sequoia IPSW, as an upgraded VM can’t access iCloud.


